Illinois Valley House Cleaning Services | IV Clean Team, Inc.

Home cleaning, window cleaning, gutter cleaning, pressure washing service in Peru, LaSalle, Oglesby, Ottawa, Spring Valley, Utica, Mendota, Illinois

  • FAQ
  • Contact Us
  • Pay Online
Book Now
Schedule Today!

Join Us On:

  • Facebook
  • Google +
  • Blog

Creating free time for busy people since 2008!

  • About Us
    • Cleaning For A Reason
    • Meet Our Team
    • Employment Opportunities
  • Cleaning Services
    • House Cleaning
    • Disinfection with PUREguard
    • 10-Point Disinfection
    • House – Siding Pressure Washing
    • Concrete Cleaning
    • Deck and Fence Cleaning
    • Window Cleaning
    • Gutter Cleaning
    • Commercial Cleaning
  • Gift Cards
  • Clients Love Us
  • Join Our Team
  • Blog

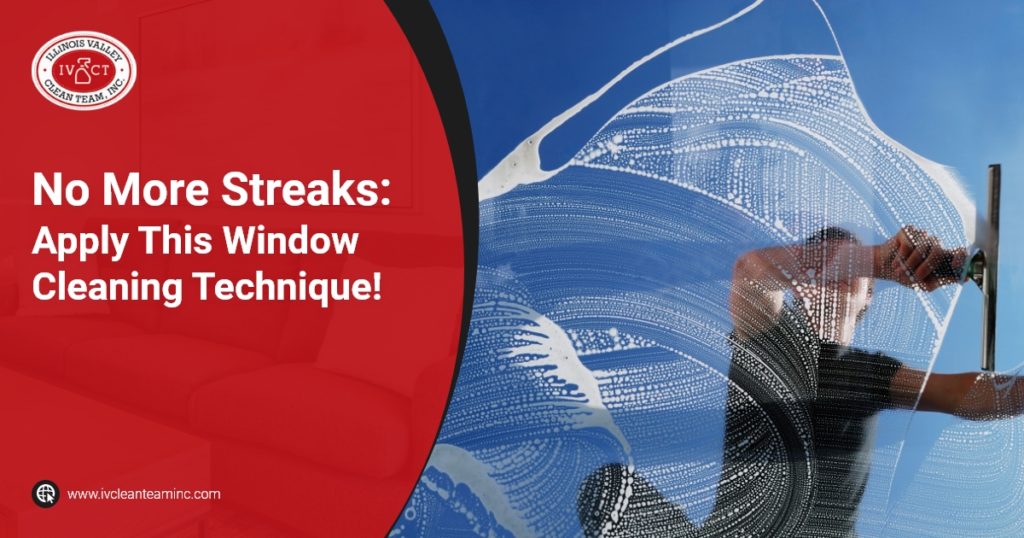
No More Streaks: Apply This Window Cleaning Technique!

September 16, 2021 by Illinois Valley Clean Team

Illinois Valley Clean Team - No More Streaks Apply This Window Cleaning Technique!

There’s a beautiful view outside, but you need to wash the windows first!

When was the last time you cleaned your windows? Many internet sites claim that you should wash your windows twice or thrice a year (like this article here.) Maybe now is the time! 

Learn here how to clean windows with zero streaks!

What is the best cleaner for your windows?

Cleaning windows is a bigger challenge than it looks for one reason: window streaks. Why are your windows streaky after cleaning them? Sometimes, it’s dry dirt, but more than often, it’s just cleaning product residue! Keep it in mind while choosing the cleaner!

When it comes to cleaning glass or streaky surfaces, natural is best. DIY cleaners with vinegar and alcohol work because both products evaporate after some minutes—leaving no residue behind. 

On the other hand:

Commercial cleaning products may have excessive soap, ammonia, and other chemicals! Of course, warm soapy water and commercial window cleaners are efficient for washing dirty windows, but the chances of leaving streaks are higher!

Then, what’s the best homemade cleaner for my windows?

Usually, vinegar and water are enough to clean windows. You could add rubbing alcohol to the solution, but it’s better if you use it to spot clean tough stains. 

To make your zero-streak homemade window cleaner, follow these two simple steps:

  1. Put one or two cups of warm water in a spraying bottle.
  2. Pour white vinegar into the bottle. You can put a tenth of the amount of water or make it a half-and-half solution. The concentration depends on how dirty your windows are!

What is the best way to clean windows without leaving streaks

Now is the time to clean your windows. The first thing to do is choose a cleaning product—either your trusted commercial cleaner or the homemade cleaner mentioned above.

Also, you’ll need at least two microfiber cloths and maybe your vacuum cleaner or duster. 

Ready to begin? Here is how to clean a window! 

Step 1. Dust the entire window (including the frame and sills)

If you spray the solution in a dusty window, you’ll end up with a mess. First, dry-clean all the dust and dirt. Use the vacuum crevice attachment to dust every corner in the window frame. Then, dust or vacuum the window sill and glass.

Step 2. Spray the cleaner throughout the glass

At this point, the window should appear almost clean! However, you need to remove the stains and build-up film in the glass. Spray the cleaner you chose previously, but be careful not to wet the frame. If you are cleaning multiple windows, work with just one at a time.

Step 3. Wipe the cleaner with a lint-free cloth

Wiping a window with a lint-free microfiber cloth is ideal. It will absorb the dirt and excess cleaner. For especially tough stains, dip a cotton pad in rubbing alcohol and dab the spot for a few seconds. Never use a razor or scrubbing pad—or you might scratch the glass!

Continue wiping the glass with the microfiber cloth until it appears completely clean. If you use soapy water, give a final rinse with only plain water.

Step 4. Use a clean cloth to dry your window

Just after wiping your window, dry it with a clean and dry cloth. Avoid paper towels that might leave a residue!

Step 5. If streaks appear, rinse the glass with plain water

Window cleaning is more about patience than technique.

After cleaning a window, you need to wait some minutes to see if streaks appear. This part is inevitable! Even the most experienced window cleaners struggle with streaks.

Remember that Illinois’ hardness of water is high. It means that running water has a high amount of minerals—and the very water could be leaving streaks! To remove the streaks, rinse the glass with a microfiber cloth and distilled water. 

Professional window cleaning in Illinois Valley

Do you have enough time to clean your windows? Let the best cleaning company in Illinois Valley clean them for you! Illinois Valley Clean Team offers every service your home needs, including regular cleaning, pressure washing, and window cleaning! 
Get your free quote by clicking here!

Filed Under: Cleaning Tips

Do You Know Where Germs Are Hiding Inside Your Home?

April 30, 2021 by Illinois Valley Clean Team

Do you know where the dirtiest places inside your home are? You’ll be surprised to learn that some germ-filled objects and places don’t even look dirty!

Filed Under: Cleaning Tips

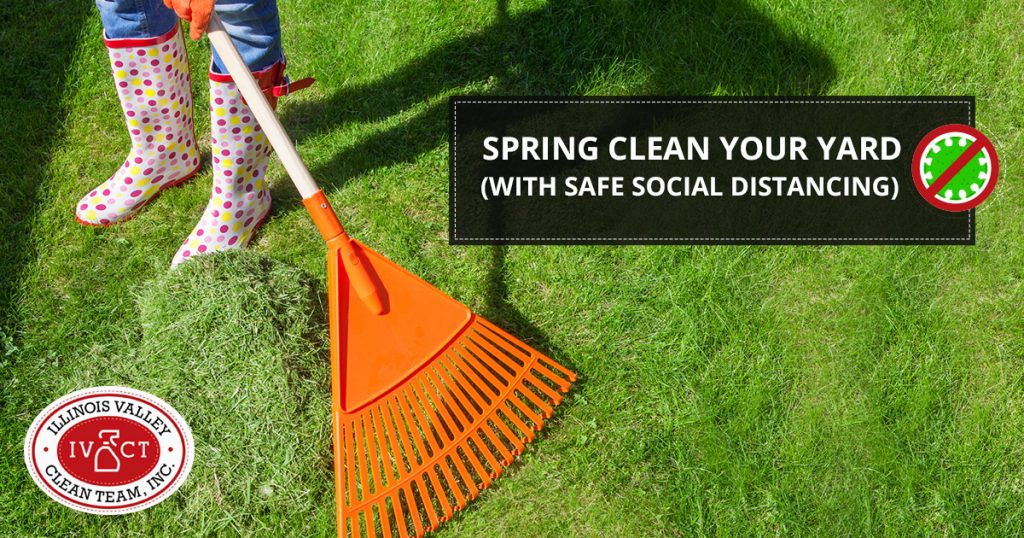
Spring Clean Your Yard (With Safe Social Distancing)

April 15, 2020 by Illinois Valley Clean Team

Illinois Valley Clean Team - Spring Clean Your Yard (With Safe Social Distancing)

“Social distancing is deliberately increasing the physical space between people to avoid spreading illness. Staying at least six feet away from other people lessens your chances of catching COVID-19,” says Lisa Lockerd Maragakis, M.D. Social distancing has been recommended by the CDC as the best way to slow the spread of the coronavirus. It’s important to adapt to the conditions of our current situation and to not shut down. With the coming of warmer weather, let Illinois Valley Clean Team show you spring clean-up tips while practicing safe, social distancing. 

LAWN 

  • Reseed  

Seed bare patches of lawn but avoid weed treatment until summer. 

  • Mow and edge 

After the winter thaw and the lawn dries, mow and edge your lawn for a professional look. 

  • Fertilize 

For a healthy and even-looking lawn, fertilize your lawn in the spring after the first thaw. 

  • Rake leaves 

To prepare your lawn for summer, rake any leftover leaves from fall and remove all other debris to have wandered into your yard. 

  • Trim the bushes and trees 

Remove broken branches and prune summer-blooming trees to ready yourself for spring. 

FLOWER BEDS 

  • Plant bulbs 

After removing winter mulch and pruning perennials down to ground level, plant summer-blooming flowers. 

  • Cut back wood perennials  

By cutting back wood perennials, you make room for new branches to grow. 

  • Trim ornamental grasses 

For a uniformed and clean look, trim ornamental grasses to within a few inches of the ground. 

  • Weed and compost 

Start weeding in early spring when the ground is soft. This is also a great time to start a compost pile for yard and scrap clippings if you haven’t already. 

  • Soil and fertilize 

“If you have rich, healthy soil, all you should need to do in the spring is a bit of top dressing with compost, manure or a complete slow-release  organic fertilizer.” says the writers of Gardenoholic.com. 

  • Mulch and edge 

Wait for the soil to warm before working in your flower beds. After they dry out a bit, treat your flower beds accordingly than  when ready lay fresh mulch and provide a crisp edge for a finished and professional look. 

DECK/PATIO 

  • Wash outdoor furniture 

While it may be too early to lounge in the sun, spring is the time to set up, clean, hose-down, and freshen-up your outdoor furniture. 

  • Prep the grill 

Bar-b-ques are a staple of American summers. To get ready for that grilled, delicious food, make sure to check the fuel tank and replace it (as needed, using social distancing), clean the grate, and wash the grill, inside and out. 

  • Power wash the porch/deck 

Whether you have a leaf blower or a hose, remove the dirt and debris, which may have accumulated from winter, to reveal a beautiful porch/deck to enjoy all summer long. 

  • Power wash outside playsets & toys 

Springtime is a great way to get the kids some fresh air and exercise! Just hand them a soapy sponge and have them play/clean the outdoor toys (but only with monitored social distancing). 

While it may be disheartening to have restrictions and so many shops, businesses, restaurants, and entertainment venues closed, it’s for the safety of all, but it doesn’t mean you have to stop living a functional life. When practicing social-distancing, savor the therapeutic experience you get from springtime yard clean-up. Listen to the birds sing songs of hope. Watch the flowers bloom despite the swirl of chaos. Feel your fingers nourish the soil as you make way for new life. Moreover, remember “Happiness is not the absence of problems, it’s the ability to deal with them.” Steve Maraboli, writer of Life, the Truth, and Being Free.

Filed Under: Cleaning Tips

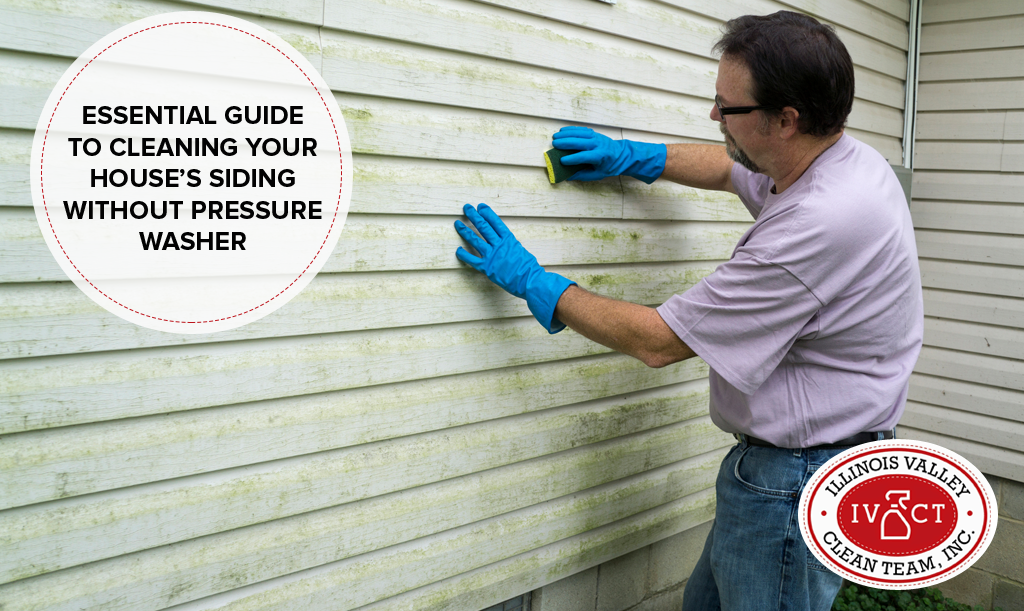
Essential Guide To Cleaning Your House’s Siding Without Pressure Washer

March 17, 2020 by Illinois Valley Clean Team

Illinois Valley Clean Team - Essential Guide To Cleaning Your House’s Siding Without Pressure Washer

Your house can be spotless inside, but what about outside? Mold and dirt can form a thick layer in a house’s siding and this requires special attention to clean. Many people use a pressure washer to do the job (although they can be expensive). If you don’t have one, don’t worry! This guide will show you how to clean vinyl siding, step by step, and with useful tips.

Step 1: Wear proper clothing

Safety first! Cleaning vinyl siding can be a dirty job, and a dangerous one if you are using strong chemicals like bleach. Be sure to wear rubber gloves, long sleeve shirt, long pants, and goggles. Also, don’t mix bleach with other cleaning substances to avoid generating toxic fumes.

Tip: clean your siding on a cloudy day, because the sun can dry your siding too quickly, leaving stains behind.

Step 2: Check out for cracks

Before you start pouring water over your siding, you have to be sure there’s no fissure or missing piece of vinyl. Water can easily penetrate a damaged siding, and you don’t want that. Also, shut your windows correctly and check if its sealants are in good condition.

Step 3: Protect your plants

Waste is going to drip from your siding, a mix of dirty water, mold, and strong chemicals, and this can be very harmful to your house plants. If you have a garden bordering your house, put plastic tarps above it to protect them. If you don’t have a plastic tarp at home, try watering your plants before cleaning your siding. That way, the chemicals will not be absorbed so easily.

Tip: If the day is sunny, uncover your plants as fast as you can because the plastic can overheat them.

Step 4: Prepare your cleaning solution

You can buy in your nearby store the cleaning liquid of your preference, but you can obtain as good results from a homemade solution. Basically, you have two options:

Bleach

Mix one quart of bleach in one gallon of water. This cleaning solution will kill almost every bacteria and mold in your siding and also will whiten the discolored areas. However, using bleach can provoke toxic flumes, skin infections, and in general, it isn’t very good for the environment.

Vinegar

If you want a more mild but effective solution, vinegar it’s the way to go. Make a 30/70 white vinegar and water mixture. This alternative isn’t toxic at all and safe for the environment but can be less effective.

Step 5: Divide your siding into sections

Cleaning your siding by hand is the simplest way to go, but you have to work intelligently. Use a long-handled, soft bristle brush to reach every streak, and divide the total surface into 5×5 foot squares to keep track of your progress.

Tip: to be sure your solution isn’t damaging your house siding, try it in a small square and see how it reacts over the vinyl.

Step 6: Clean from down to up and rinse from up to down

Now to the main task. Dip your brush into your solution and start rubbing your siding gently. Let your solution make an effect, don’t try to clean too hard, or you can crack the vinyl. Clean from down to up, and when you finish, rinse with water from up to down. Try to do it as you go and avoid uneven drying and spotting.
Cleaning your home’s siding is hard work, no doubt about it. Follow these easy steps and apply our tips for great results. Or, if you want a more professional cleaning, contact us on our website.

Filed Under: Cleaning Tips

The Health Benefits for your Family of Cleaning your Home Regularly

July 1, 2019 by Illinois Valley Clean Team

Filed Under: Cleaning Tips

  • « Previous Page
  • 1
  • …
  • 5
  • 6
  • 7

Join Our Newsletter List!

We will never share nor sell your information!

Check Us Out On:

  • Facebook
  • Google +
  • Blog

Site Info.

  • Cleaning Services
  • About Us
  • References
  • Current Discounts
  • Gift Cards
  • FAQ
  • Employment
  • Contact Us
  • Pay Online

Let’s Get Scrubbing!

Get My Quote!

Give Us a Call!
1-815-228-5273

How Did We Do?

Tell us and be entered into our monthly drawing! Click here!

We're proud to serve the Illinois Valley, including the communities of Arlington, Cedar Point, Cherry, Dalzell, Grand Ridge, Granville, Hennepin, Ladd, La Moille, La Salle, Mark, Marseilles, Mendota, Naplate, North Ottawa, Oglesby, Ottawa, Peru, Princeton, Spring Valley, Streator, Utica and Tonica.
© 2023 Illinois Valley Clean Team | Privacy Policy