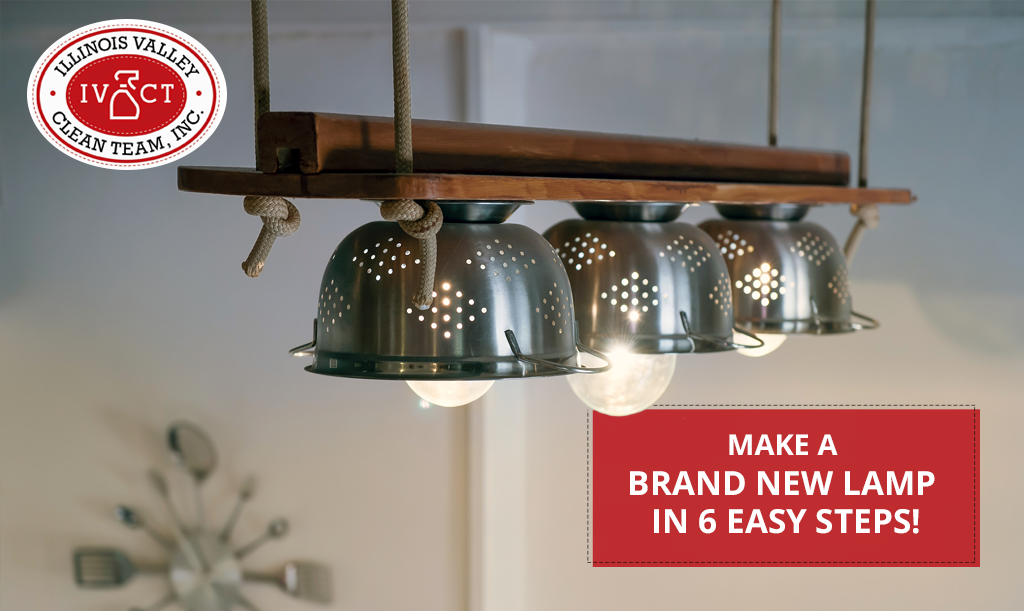
Few things in life give you the satisfaction that creating something from scratch does. There are many DIY house decoration projects out there, but when it comes to lamps or lightning, people feel intimidated by the idea. You should not! Working with wires or anything electrical does require you to be extra careful, but it’s also very safe when you know what precautions to take.
There are a few guides that will tell you how to make a lamp out of anything safely, and once you have that part down, you will not want to stop. Here are a few lamps and lightning easy craft ideas for the home so that you let your creativity run wild.
Find a suitable base
You can make a lamp out of almost anything! Almost being the operating word here, as there are a few requirements that an object needs to meet before qualifying as your next lamp. First of all, it has to be sturdy enough to stand on its own with the shade on top. Then, it has to be balanced so you don’t go knocking it around too easily, meaning top-heavy items are discouraged. It’s important to stabilize your base by filling it with sand, marbles, or even by affixing rubber stops to the bottom. Do this until there is zero wobble from it.
Get your materials ready
A lamp kit can be bought at most hardware stores and includes pretty much everything you need to make a lamp except the base. While you can buy them separately, getting them from a kit will make sure that they fit better together. In case you don’t want to (or can’t find) these things together, here’s what you will need: Detachable harp, #18 size cord, push-through socket with its shell, a finial, nuts, bolts, and washers.
Set up the main body
You’re going to have to prepare the base for your wires to run through them. First, drill a hole wide enough for the cord to fit in and thread your cable all the way through and secure it on both sides. Next, secure the harp onto the base, running the cord through the small hall at the bottom. Now you have to screw the socket cap (where the lightbulb is going to be screwed on) onto the harp.
Strip and tie your wires
Your cord is made up of two insulated wires stuck together. Pull apart the two cables about 4 inches down from the top part, then remove 1 inch of insulating plastic from each separate wire using wire strippers (a knife is not recommended unless you’re very skilled using it). The next step is tying the wires so that they do not fall through the hole and into the base of the lamp. Use any know that you consider good enough, provided that it’s tight and wide enough so as not to slip through the hole.
Wrapping the wires
First, find the hot wire and the neutral wire. Your cord has a couple of ways of telling you which is which; the neutral wire is usually ribbed or white, and the hot wire is smooth or black. If you have doubts, refer to your lamp kit’s instructions. Take the previously stripped wires and wrap them clockwise around the bulb socket: The neutral wire goes on the silver/white screw, while the hot wire goes on the gold/black/dark screw. Again, check the manual if you’re unsure. You can tighten the screws with a screwdriver once they’re wrapped.
Finishing touches
It’s all smooth sailing from here. After you wrap the wires around the screws, put the socket shell over the bulb socket and tuck the cords so they’re not sticking out and let the shell fall smoothly into place. Attach the top of the harp to the bottom part and squeeze the sides a little while you slide them into place. Place your shade on top and secure it with a lock nut. Now, all you have to do is screw a lightbulb into place and you have yourself a new lamp!
As you can see, there are many easy craft ideas for homes, but almost none are easier than making a lamp of your own. From the classy to the outright nerdy, we hope that this guide helps you expand your skills and have lots of fun while doing so. And if you don’t think there’s not enough time with all your other chores, we can help you with those!